Mobile-Mietspiele
Zum Inhalt springen
Startseite
alle Spiele
01-Megakicker
Weitere Fotos
Weitere Infos
02-Goalbox
03-Speed and Kick
Weitere Fotos
Weitere Infos
04-Bällewirbel
05-Basketball
Weitere Fotos
06-All on
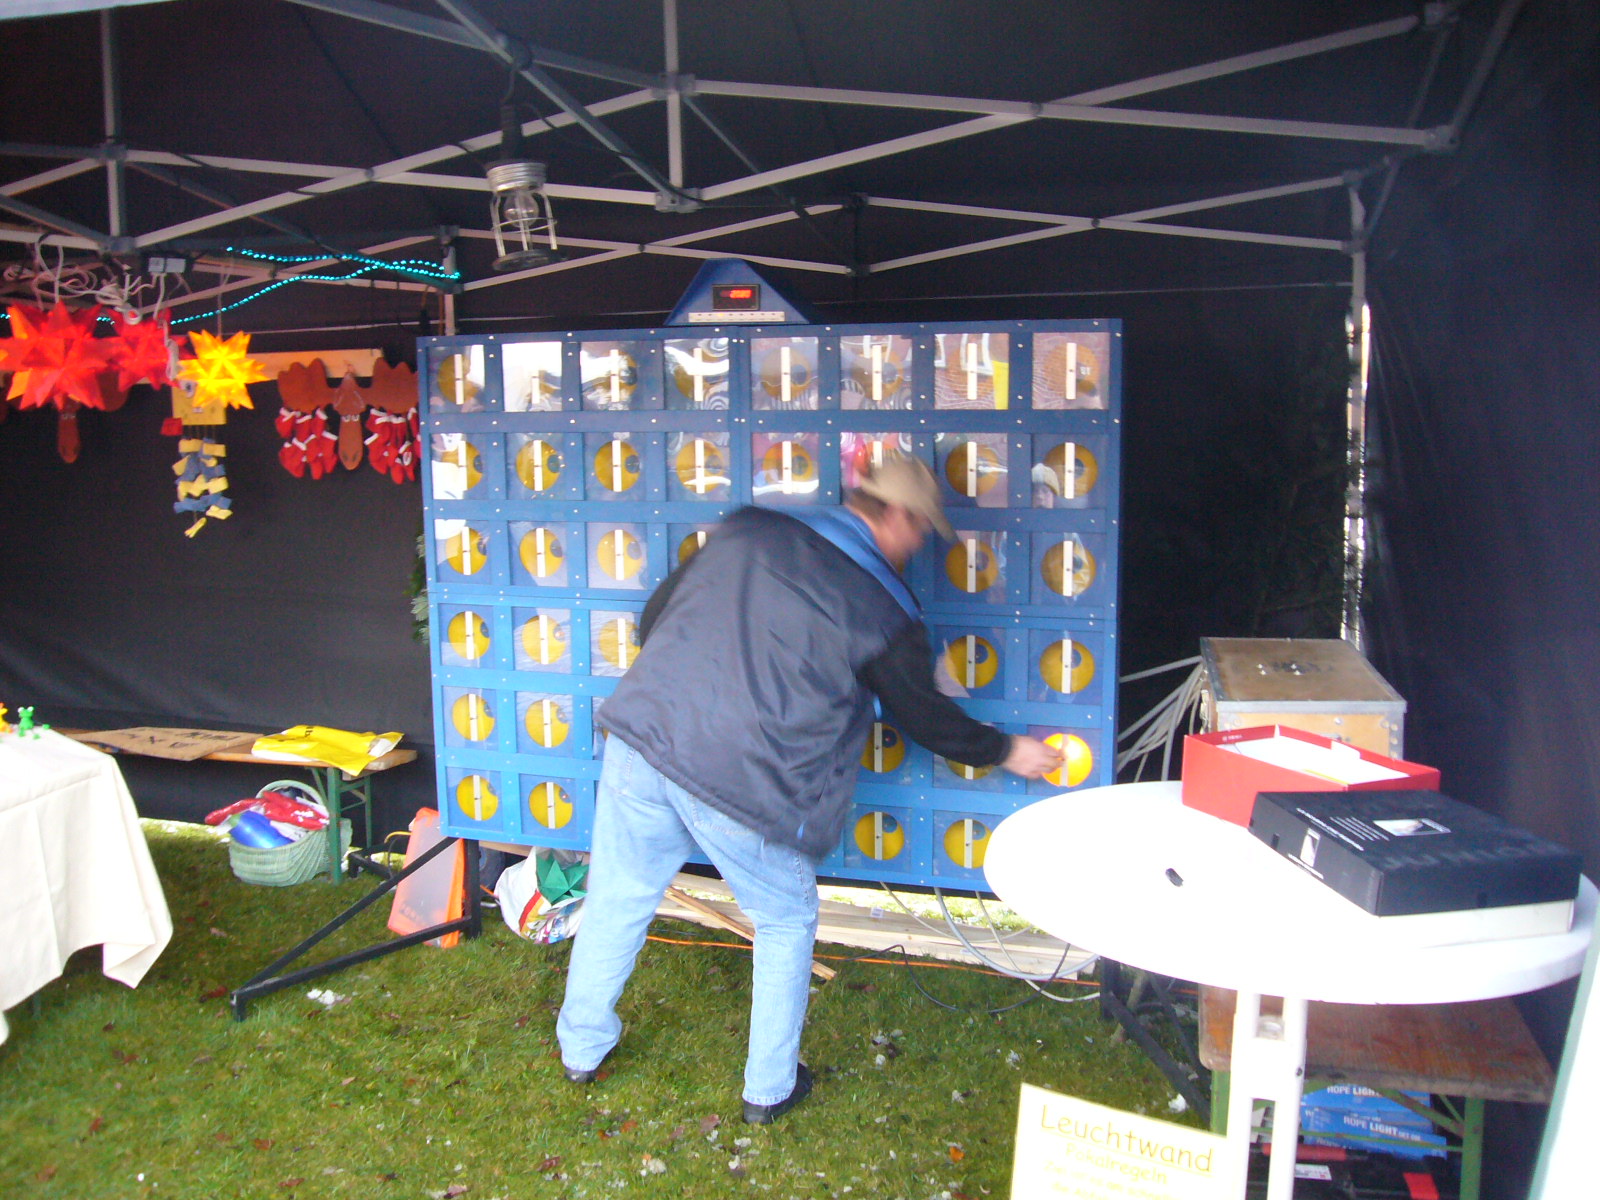
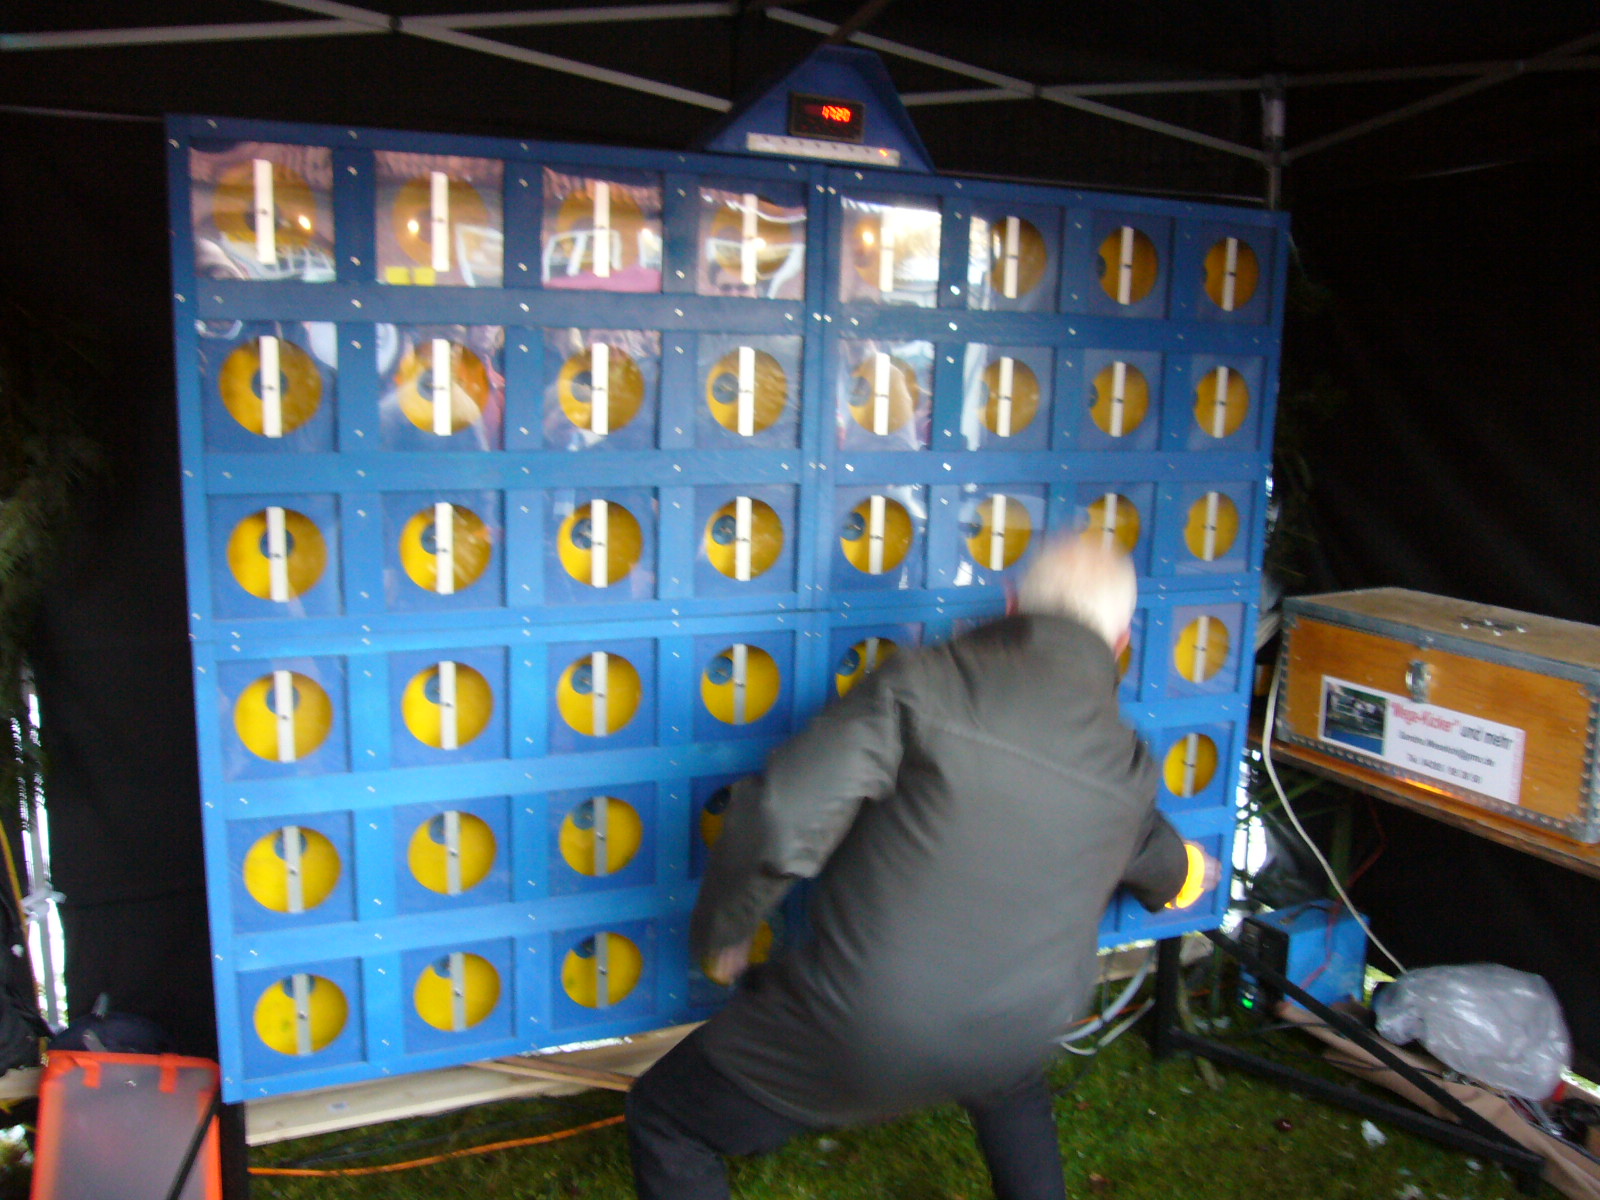
07-Reaktionswand
Weitere Fotos
Weitere Infos
08-Strickleiter
Weitere Fotos
09-Hau den Lukas für Große
Weitere Fotos
10-Digitale Torwand
Weitere Fotos
11-Das bewegte Ziel
Weitere Fotos
12-Schwebende Bälle
weitere Fotos
weitere Infos
13-Hüpfburg
weitere Bilder
14-Hau den Lukas für Kleine
Weitere Fotos
15-Die Pumpe
Weitere Fotos
Weitere Infos
16-Das Spiel um den Sieg
Weitere Fotos
17-Stangen werfen
18-Schätz mal
weitere Fotos
weitere Infos
19-Stäbe fangen
Weitere Fotos
20-Tischkegelbahn
21-Katapult
22-Sack-werfen
weitere Fotos
23-Labyrinth
Weitere Fotos
24-Vier gewinnt XXL
Weitere Fotos
25-Um die Ecke
26-Mega Klingeldraht
Weitere Fotos
27-Hütchen Wippe
28-Lochbrett
Weitere Fotos
29- verrückten Hämmern
Weitere Fotos
30-Stärke zeigen
Weitere Fotos
31-Murmel Roulette
weitere Fotos
weitere Infos
32-Übermut
Weitere Fotos
33-Auf den Tisch
34-Kugel schieben
35-Tischkicker
weitere Bilder
36-schneller flitschen
39-Würfel Spaß
40-Bola
Weitere Fotos
42-Glücksrad
Weitere Fotos
43-Pusteball
Weitere Fotos
Neu dabei
Impressum – Fahrtkosten
Kontakt
Weitere Fotos
Weitere Fotos
Weiter Fotos der
Reaktionswand
Hinterlasse einen Kommentar
Antwort abbrechen
Δ
Suche starten!
Suche nach:
Neueste Beiträge
Herzlich Willkommen
Links
Discuss
Get Inspired
Get Polling
Get Support
Learn WordPress.com
Theme Showcase
WordPress Planet
WordPress.com News
Mobile-Mietspiele
Registrieren
Anmelden
Kurzlink kopieren
Melde diesen Inhalt
Abonnements verwalten
Kommentare werden geladen …
Verfasse einen Kommentar …
E-Mail (Erforderlich)
Name (Erforderlich)
Website


 Mobile-Mietspiele